If you’ve just bought a boltless rack for your storeroom, bomb shelter, or home office in Singapore, you might be wondering — how do you actually assemble it without tools or drilling?
The good news is that boltless racks are designed for easy, no-hassle installation. Whether you’re setting up shelves for home storage or office use, you can do it all by hand, without any screws, bolts, or power tools.
In this guide, we’ll show you exactly how to assemble your rack safely and efficiently — plus a few expert tips from ZEssentials, Singapore’s trusted storage solution provider.
Before diving into installation, it helps to understand what makes boltless racks so popular:
With a little patience and proper alignment, you can complete your rack setup in less than 30 minutes.
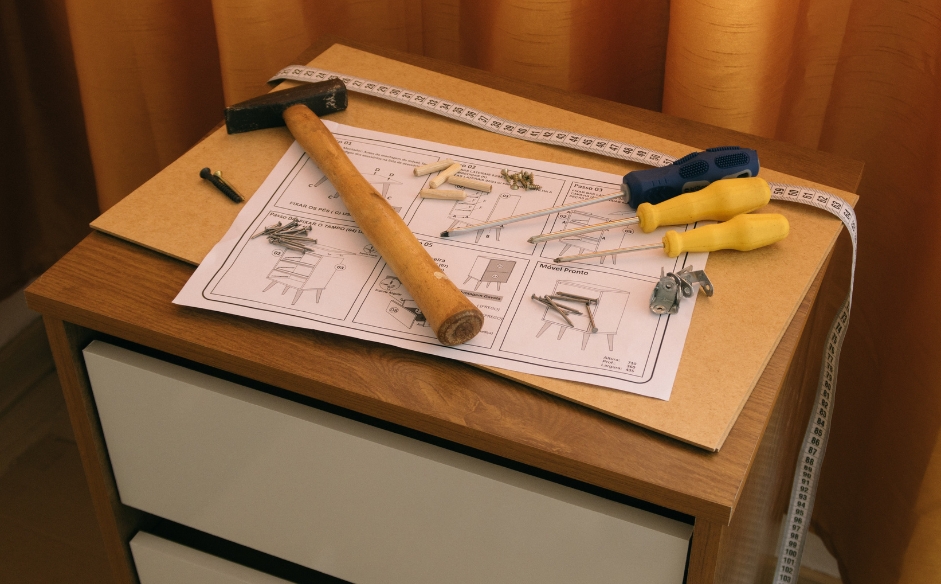
You don’t need much to assemble a boltless rack, but having the following will make it smoother:
Lay everything out on the floor so you can see what you’re working with.
A standard boltless rack usually includes:
Inspect each piece for damage and ensure all corners and slots are properly formed.
This is the most important step because the first tier sets the foundation for the entire rack.
At this point, you should have a stable bottom tier — the base of your rack.
Tip: If the joints feel tight, use a rubber mallet to tap gently until everything fits snugly.
Place one shelf panel onto the frame you just built. Ensure it sits evenly and doesn’t wobble.
If your shelf has metal reinforcement bars, insert them underneath for added stability before placing the panel.
This base tier will help keep your rack upright and balanced while you assemble the next levels.
Once the first level is in place, you can start stacking upward:
You can adjust shelf spacing depending on what you plan to store — for example:
After all shelves are installed, check that your rack stands straight and level.
If one side feels loose or uneven:
You should not see any gaps between beams and posts — tight connections mean better stability.
Now that your boltless rack is complete, it’s time to use it. But before loading it up, keep these safety tips in mind:
While boltless racks don’t require drilling, you can still enhance stability if needed:
These small adjustments ensure your rack remains safe and stable for long-term use.
Singapore homes — especially HDB flats and condos — often have limited storage space. Boltless racks offer an ideal way to maximise it:
That’s why ZEssentials’ range of boltless storage racks is built for versatility, durability, and easy DIY installation — perfect for every homeowner who values practicality and style.
Installing a boltless rack is one of the easiest DIY projects you can do — no tools, no drilling, and no stress. With proper setup and care, your rack can last for years, helping you keep your space neat and organised.
If you’re looking for high-quality, heavy-duty boltless racks in Singapore, explore ZEssentials’ storage solutions. From bomb shelter racks to storeroom shelving systems, every rack is built for strength, flexibility, and effortless setup.
Get organised today — the smart, simple way with ZEssentials.